The RPi Zero W and its newer sibling the RPi Zero 2 W are nice low-power, small-size USB devices that can be configured to act as an RNDIS Ethernet device (among other things, you can also set it up so that they appear as serial device, mass storage device, or HID device).
But today, we're looking at RNDIS Ethernet mode.
Configuring the RPi Zero W
The RPi Zero W has two connections in this scheme:
- The WIFI connection, providing upstream Internet access
- The USB connection, acting as USB Ethernet device for the PC
Configuring WIFI
I'm assuming that you have set up WIFI (using raspi-config or via the GUI)
on the RPi Zero W and that it is able to access the Internet this way.
You don't necessarily need an upstream Internet connection, and can just use IP connectivity between the PC and RPi Zero (e.g. having a local FTP server, Samba share, HTTP server, etc..) but it's more fun, and installing more packages and updates for Raspbian OS needs Internet access anyway.
Loading g_ether
First, edit /boot/config.txt:
dtoverlay=dwc2
Then, edit /boot/cmdline.txt and add these kernel command-line options:
 modules-load=dwc2,g_ether
 g_ether.dev_addr=aa:bb:cc:00:00:01
 g_ether.host_addr=aa:bb:cc:00:00:02
 dwc_otg.lpm_enable=0
Put all of these settings on a single line, they are just separated here
for illustration purposes. You can configure the dev_addr and host_addr
to your liking, if you don't do this, it will be randomized on startup,
and possibly detected as different adapters depending on the host system.
Editing files in /boot/ can be done from a host computer (put the MicroSD
card into a card reader), as the boot filesystem is a FAT-formatted partition,
or you can also (as root or via sudo) edit the files directly on the Pi.
After rebooting, ip link should show a new usb0 device, which has the
MAC address of dev_addr (the "remote end", or the Windows box, will get
the host_addr as its MAC address).
DHCP Server
I used udhcpd (the Busybox DHCP Server) on Raspbian, install using:
sudo apt install udhcpd
The service is configured in /etc/udhcpd.conf, here are the relevant
settings that I used (replace XX with some unused subnet, e.g. 99):
start           192.168.XX.20
end             192.168.XX.254
interface       usb0
opt     dns     8.8.8.8 8.8.4.4
option  subnet  255.255.255.0
opt     router  192.168.XX.1
Of course, you can configure a different DNS server (used here is 8.8.8.8
and 8.8.4.4, which is Google DNS). The "router" entry should point to
the RPi Zero W itself, which will get to shortly, but now make sure to
actually enable udhcpd by editing /etc/default/udhcpd:
DHCPD_ENABLED="yes"
DHCPD_OPTS="-S"
But - as always - do check what the current version of the file says, and just enable it however it tells you to do it there.
Alternatively, something like dnsmasq would also be a perfect candidate for your DHCP (and DNS) server needs.
Network Interface
Configuring the usb0 network interface is easy, just create a new file
/etc/network/interfaces.d/usb0 and add the following contents (again,
replacing XX with the subnet you chose in the previous step):
allow-hotplug usb0
iface usb0 inet static
  address 192.168.78.1/24
You should also enable the sysctl net.ipv4.ip_forward = 1 to actually
enable IP routing/forwarding on the RPi Zero -- for me, this seems to be
the default, but YMMV?
Make sure to reboot your RPi Zero (which you might implicitly do anyway when disconnecting the USB cable and connecting it to your retro PC).
Windows PC
There is some configuration and driver installation you have to do on the PC that the RPi Zero gets attached to. This is only needed on Win9x, WinMe and Win2k, as XP already has a driver for RNDIS Ethernet built-in, and the same is true if you are using Linux as the host system.
The INF File
The Linux kernel Documentation includes an INF file for using the USB Ethernet (RNDIS) gadget on Windows 9x, version 2.6.35 is the last version to still include Windows 9x support in the INF file:
Starting in version 2.6.36, the file was updated for XP SP3 and newer:
For Win9x support, you definitely want to grab the older version, for WinXP, you can grab the latest version (and don't need any additional files).
In October 2010, there was an update on the Gadget side of things (that'd be the Linux kernel running on the RPi that is connected to the "host" Win9x machine) in that changed the USB VID/PID from "XXX NetChip/XXX" (0x0525 / 0xa4ab) to proper Linux Foundation-owned/registered vendor and product IDs (0x1d6b / 0x0104) in commit 1c6529e9.
This change was reflected in the INF file in April 2011 in commit 7701846f, but by that time, any Windows version older than XP SP3 wasn't really all that relevant anymore, so support for it was removed:
; No sys copyfiles - the sys files are already in-build
; (part of the operating system).
; We do not support XP SP1-, 2003 SP1-, ME, 9x.
The Driver Files
Grab the driver files from the archive.org mirror of microsoft.com: Remote NDIS USB Driver Kit
(click on "I accept this agreement and want to download Remote NDIS USB Driver Kit", then find the "Remote NDIS USB Driver Kit, 1.1 MB, Updated: Aug 16, 2002" box on the right side of the page, which will give you this download link: rndisusb1-1.exe
rndisusb1-1.exe
sha1: de6a0402f2a94ef51ab343586e89b85a2e1d343a
md5: 79693c9ad17a87004ce24a36e4d57796
sha256: eee88bff7d755a6c76c2e3524caa5d613adb5f0df93b9bd777f7e7f09819661b
From this self-extracting ZIP file (so you can use 7z x or any other ZIP
utility if you don't want to or cannot run the EXE), grab these files:
For Windows 9x:
Drivers/Free/usb8023w.sys
Drivers/Free/rndismpw.sys
For Windows Me:
Drivers/Free/usb8023m.sys
Drivers/Free/rndismpm.sys
For Windows 2000:
Drivers/Free/usb8023k.sys
Drivers/Free/rndismpk.sys
Windows XP and newer has RNDIS drivers built-in, so the INF file from
the newer kernel versions just refers to netrndis.inf.
The "driver folder" is then just 3 files for Windows 98 SE:
linux.inf
usb8023w.sys
rndismpw.sys
With linux.inf coming from kernel 2.6.35 (the $CHICAGO$ version).
Putting it all together
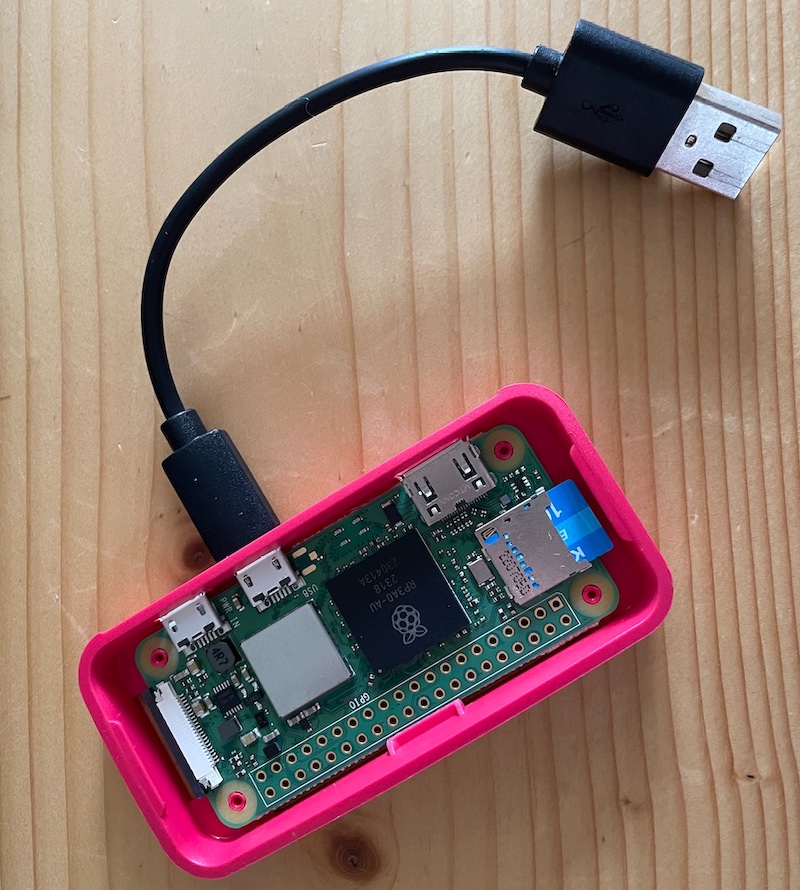
You hook up the RPi Zero W with the Micro USB cable in the second ("data") port, not the one you would use for just powering the device. The Pi Zero will take power from the second USB port just fine.
After the Pi Zero has booted up, Windows should detect a new USB device. When it asks you where to find the driver, point it to the "driver folder" you created in the previous step. After installing, you may need to reboot your machine.
After rebooting, ipconfig in a command prompt should tell you that the
machine has received an IP address in the 192.168.XX.0 subnet and that the
default gateway is 192.168.XX.1 (with XX being whatever you chose).
You can now ping 192.168.XX.1 to see if ICMP echo request/reply works
between the RPi Zero and your Windows 9x machine. If so, the next step is
to ping 8.8.8.8 (or whatever your DNS server is). If that also works,
this means that the routing (IPv4 forwarding) is also working.
From there, you can do what you want -- set up an FTP server, enable Telnet, set up a small HTTP server or even Samba (for Windows file sharing).
In addition to this, you can use g_serial to set up a Serial device, or
g_mass to emulate a CD-ROM drive or USB drive, or even g_hid to emulate
any kind of HID device (keyboard, mouse, gamepad).